It also makes great lunch leftovers
I had a dish something like this for brunch when I visited NYC this past March at a wonderful little place on the upper west side. I wanted to try and recreate it as soon as I got home and after sorting out some quirks, I can't get enough of the stuff—especially since you can eat it in so many ways and it lasts for days! I've used this recipe as a starting off point and combined it with what I remember of the dish I had which was much spicier than the traditional Italian pepperonata that I've read about since.
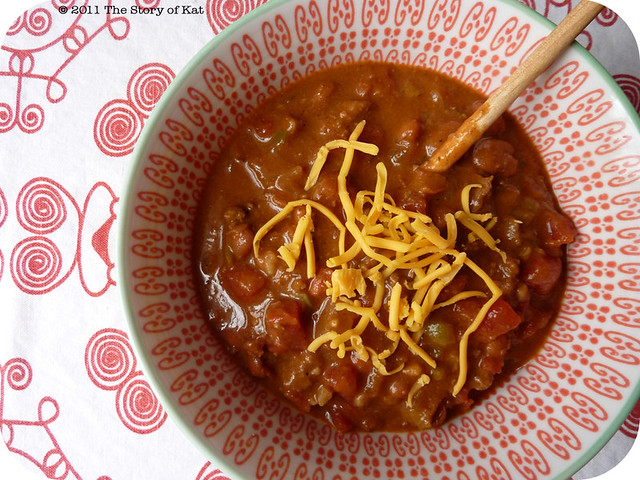
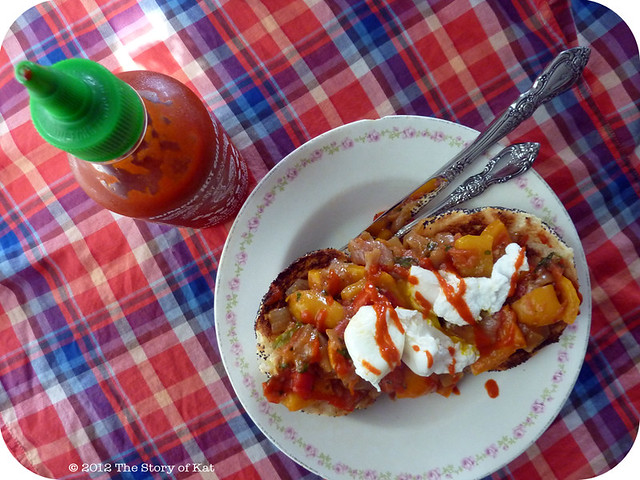
Spicy Pepperonata
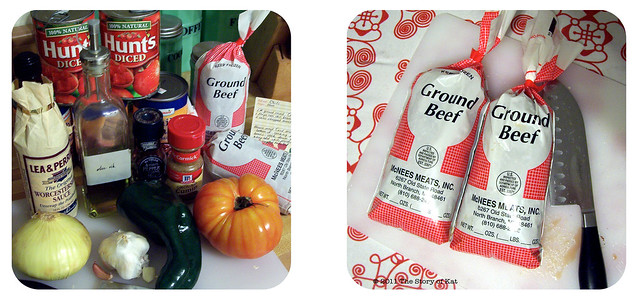
Ingredients
- 1–2 TBLS extra virgin olive oil
- 1–2 TBLS balsamic vinegar
- 2lbs bell peppers in various colors, rough chopped into large bite-size pieces
- 1lb yellow onions, chopped the same size as the peppers
- 1lb tomatoes, chopped to 1/2 inch
- 3 cloves garlic, minced
- 1/4 cup parsley, finely chopped
- 1 TBLS Sriracha
- 1/4 tsp crushed red chili pepper flakes
- Freshly ground black pepper and sea salt, to taste
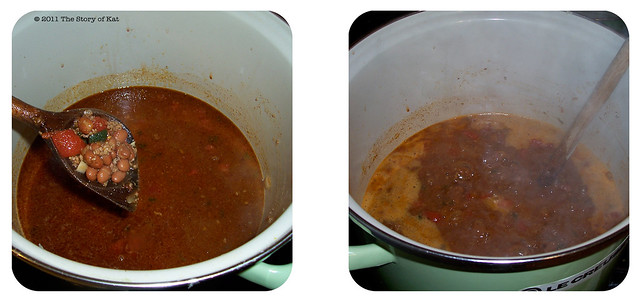
- Heat the olive oil in a large skillet on medium heat. Add the onions and let them get soft and just slightly brown by sizzling briefly and then cooking on low heat for 20 minutes. Add the garlic after 15 minutes and stir occasionally to make sure nothing is sticking.
- Add the peppers and cover the pan. After a couple minutes, open and leave the lid just slightly ajar. Allow the peppers to cook this way for 15–20 minutes and continue to stir occasionally.
- Remove the lid and add the tomatoes and balsamic vinegar. After the liquid has evaporated, add the parsley and season with sriracha, crushed chili pepper flakes, salt, and pepper.
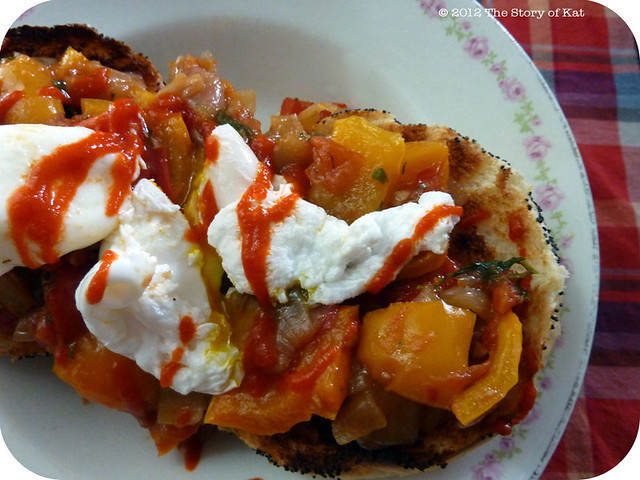
Spoon it over thick toasted bread and top with a poached egg and a drizzle of sriracha. This recipe makes enough for 4–6 people or will last for a few meals for just 2. You can store it in an air-tight container in the fridge for up to one week.
It makes for a great breakfast, brunch, or lunch as is, or you can combine it with some mixed greens and roasted potatoes to round it out as a meal for supper. The nice thing about the pepperonata itself is that you can serve it warm or cold, have it with any meal of the day, and eat it alone as a side dish, mix it in with pasta or whole grains, add to sandwiches, you name it!