
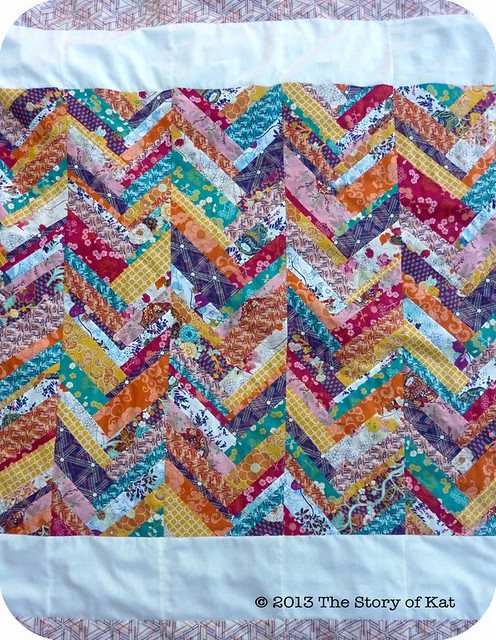
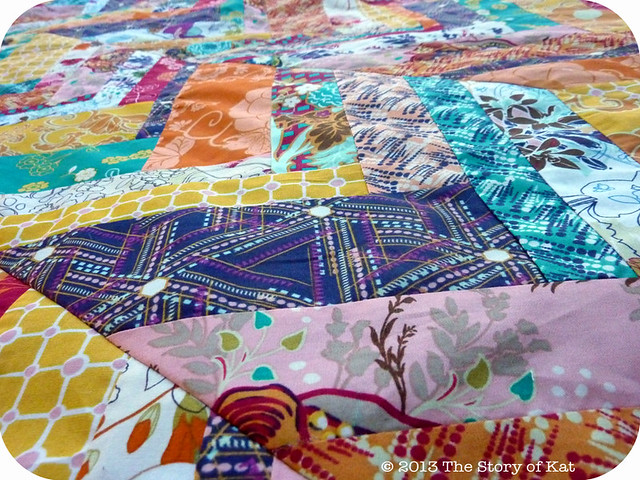
This is a quilt top that I just finished for my sister. The more I look at it, the more I love how the herringbone design and these fabrics came together. I'll definitely be using this herringbone design in the future as it's very straight forward to do and yet you end up with something intricate and modern looking that really packs a punch....so much of a punch with all these different colors that I wanted to give the eye a rest a bit and tacked on the cream cotton sateen sashing I had leftover from a previous project to quiet it down and add some length. It's a lap quilt size but I wanted it to be as long as possible in order to cover those toes on cold nights.
I don't have the photos to do a full tutorial, but I will give you a run down on how I achieved these particular rows of herringbone:
You see, I had bookmarked and pinned approximately a bajillion different chevron/herringbone piecing methods when I came across the book "Scrap Basket Beauties" by Kim Brackett. In it she has a pattern called "peaks and valleys" that has long rows like what I wanted to achieve. Everything else I'd found online worked the herringbone in just blocks or used strips that were all the same size, breaking up the overall true effect I wanted.

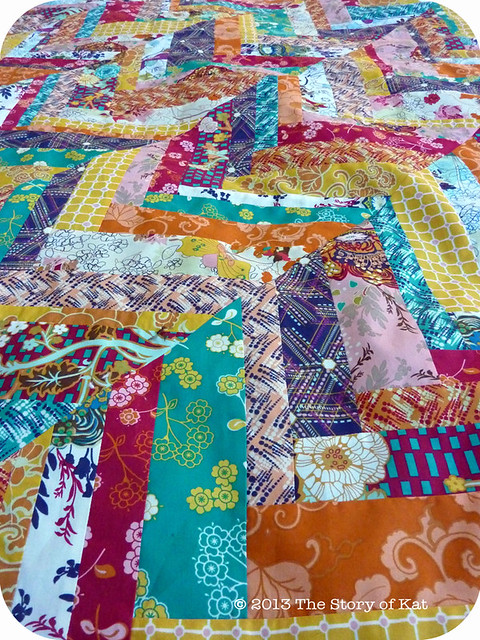
WIP: here you can see how the piecing of each row began
In this approach, each row starts with an inverted triangle like in the above photograph, and then you continue piecing your strips off of that, alternating from one side to the other as the row grows. Instead of using trapezoids like she did in the book though, I just cut strips from 1/4 yard cuts of Pat Bravo's Indie collection and squared up all the edges once I was done piecing before joining all the rows together.
I also cut mine in various widths. I prefer the finished look those different widths gave, but it did mean that keeping the same central point was a bit trickier and each row ended up being a tad wider or narrower than it's neighbor, depending on the placement of each strip (If that doesn't make complete sense, scroll back up to the top two photos and see how the placement point of each "v" changes according to the width of the strips used). For me, I'm totally ok with that wonkiness and think it just adds to the charming handmade quality of an item (as long as it's structurally and technically sound). I only had so much fabric to work with (if you could cut longer strips, you'd be able to make wider rows) and this method allowed me to achieve the desired effect without too much planning or math up front. Always a good thing if you don't mind fly-by-the-seat-of-your-pants-quilting like me!
The other difference from my quilt and the "peaks and valleys" pattern I was inspired by, was that I hacked off the triangles I started piecing from at the top of each row as well as the points at the end of the row, making for straight edges across the top and bottom where sashing could be added on. I prefer the bands of sashing I chose for just the top and bottom but you could also frame the whole thing with sashing or do a whole quilt of just these herringbone rows.


1 comment:
You did a beautiful job!.I'm sure your sister loves it. Thanks for the "how to"💜
Post a Comment